Customizing GitHub Copilot Chat with Agent Mode
/ 2 min read
🧠 Agent Mode in GitHub Copilot Chat
GitHub Copilot Chat now supports Agent Mode, enabling powerful customization of how AI interacts with your codebase. Let’s walk through the key settings and file formats to unlock its full potential.
⚙️ Enabling Agent Mode
usually there is only 2 Mode “Ask” and “Edit”
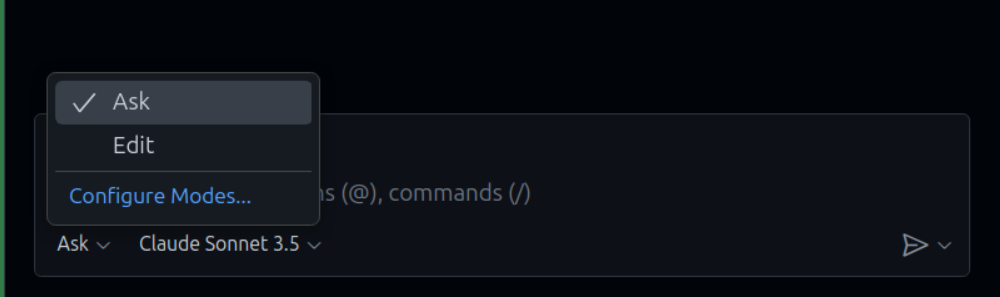
To activate Agent Mode, update your VS Code settings:
📄 Filename: settings.json
"github.copilot.enable": { "*": false, "plaintext": false, "markdown": false, "scminput": false},"chat.agent.enabled": true,"chat.commandCenter.enabled": true✅ Ensure "chat.agent.enabled": true is set. This makes the Chat icon visible in the Activity Bar.
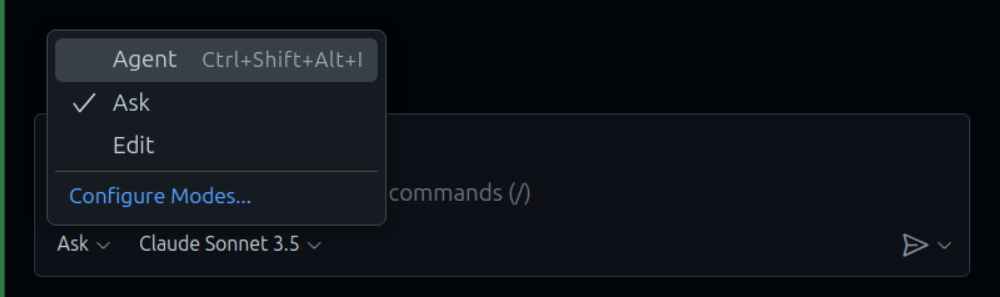
Once Agent Mode is enabled, you’ll see a new option called Agent and a Configure Modes.. entry.
🧩 Chat Modes
You can customize the location of chat mode files:
📄 Filename: settings.json
"chat.modeFilesLocations": { ".github/chatmodes": true}📄 Chat Mode File Format
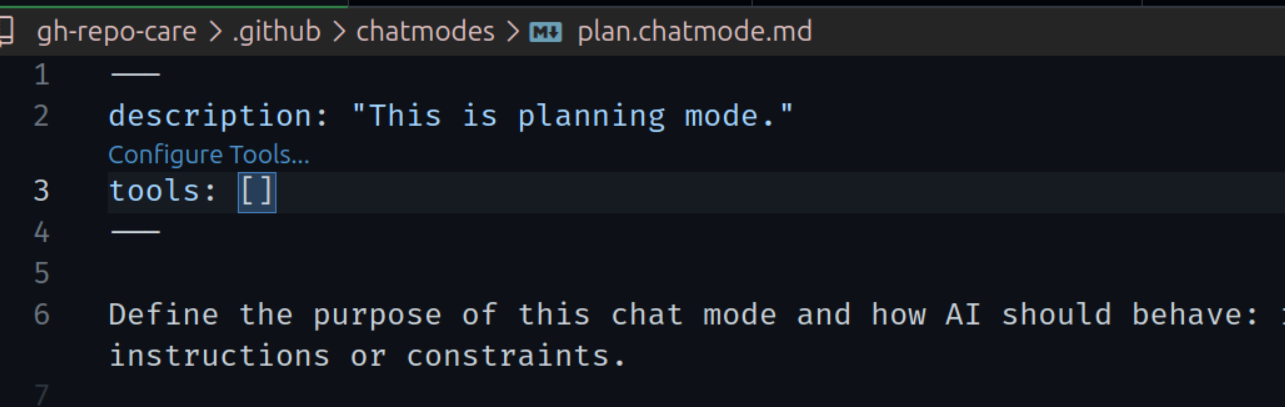
Chat mode files use the .chatmode.md extension and support YAML frontmatter:
---description: "Plan your work beforehand"tools: ["createFile", "createDirectory", "editFiles", "fetch", "fileSearch", "listDirectory", "readFile", "search"]model: GPT-5 mini (copilot)---Markdown body contains instructions and prompts for the agent.
💡 When you define tools: [], VS Code shows a Configure tools.. menu to help you select available tools.
📘 Instructions File
Enable instruction files with:
📄 Filename: settings.json
"github.copilot.chat.codeGeneration.useInstructionFiles": trueSet the location:
"chat.instructionsFilesLocations": { ".github/instructions": true}📄 Instructions File Format
Files use .instructions.md and follow this structure:
---description: "Python File guide"applyTo: "**/*.py, **/*.toml"---
# Project coding standards for Python
- Follow the PEP 8 style guide- Use descriptive function names and type hints- Maintain 4-space indentation- Use Poetry with Streamlit
💬 Prompt Files
Enable prompt files:
"chat.promptFiles": trueSet location:
"chat.promptFilesLocations": { ".github/prompts": true}📄 Prompt File Format
Files use .prompt.md and support YAML frontmatter:
---mode: "agent"model: GPT-4otools: ["githubRepo", "codebase"]description: "Generate a new React form component"---Markdown body defines the prompt:
Your goal is to generate a new React form component.
Ask for the form name and fields if not provided.
Requirements:
- Use `react-hook-form`- Use `zod` for validation- Define TypeScript types- Prefer uncontrolled components🧑💻 AGENTS.md File (Experimental)
If you use multiple agents, define shared instructions in a root-level AGENTS.md.
Enable with:
"chat.useAgentsMdFile": trueExample configuration:
{ "github.copilot.chat.pullRequestDescriptionGeneration.instructions": [{ "text": "Always include a list of key changes." }], "github.copilot.chat.reviewSelection.instructions": [ { "file": "guidance/backend-review-guidelines.md" }, { "file": "guidance/frontend-review-guidelines.md" } ]}✅ Summary
Agent Mode unlocks deep customization for GitHub Copilot Chat. By configuring chat modes, instructions, and prompts, you can tailor AI behavior to your team’s workflows and coding standards.